I love date balls! It is a real favorite of mine. I made
these awhile back and they were a delicious snack on the go. Well, I am back again for another variety of date balls that are sure to please! These are again super easy to make, are super healthy and can be adjusted to add some of your favorites in to make a unique flavor.
My recipe this time did not deviate all that much from my original recipe, however, I was able to make 3 new flavors to add to my recipe box and I had to share my success for those who enjoy these as much as I do.
Store in an airtight container. So, let's get started.
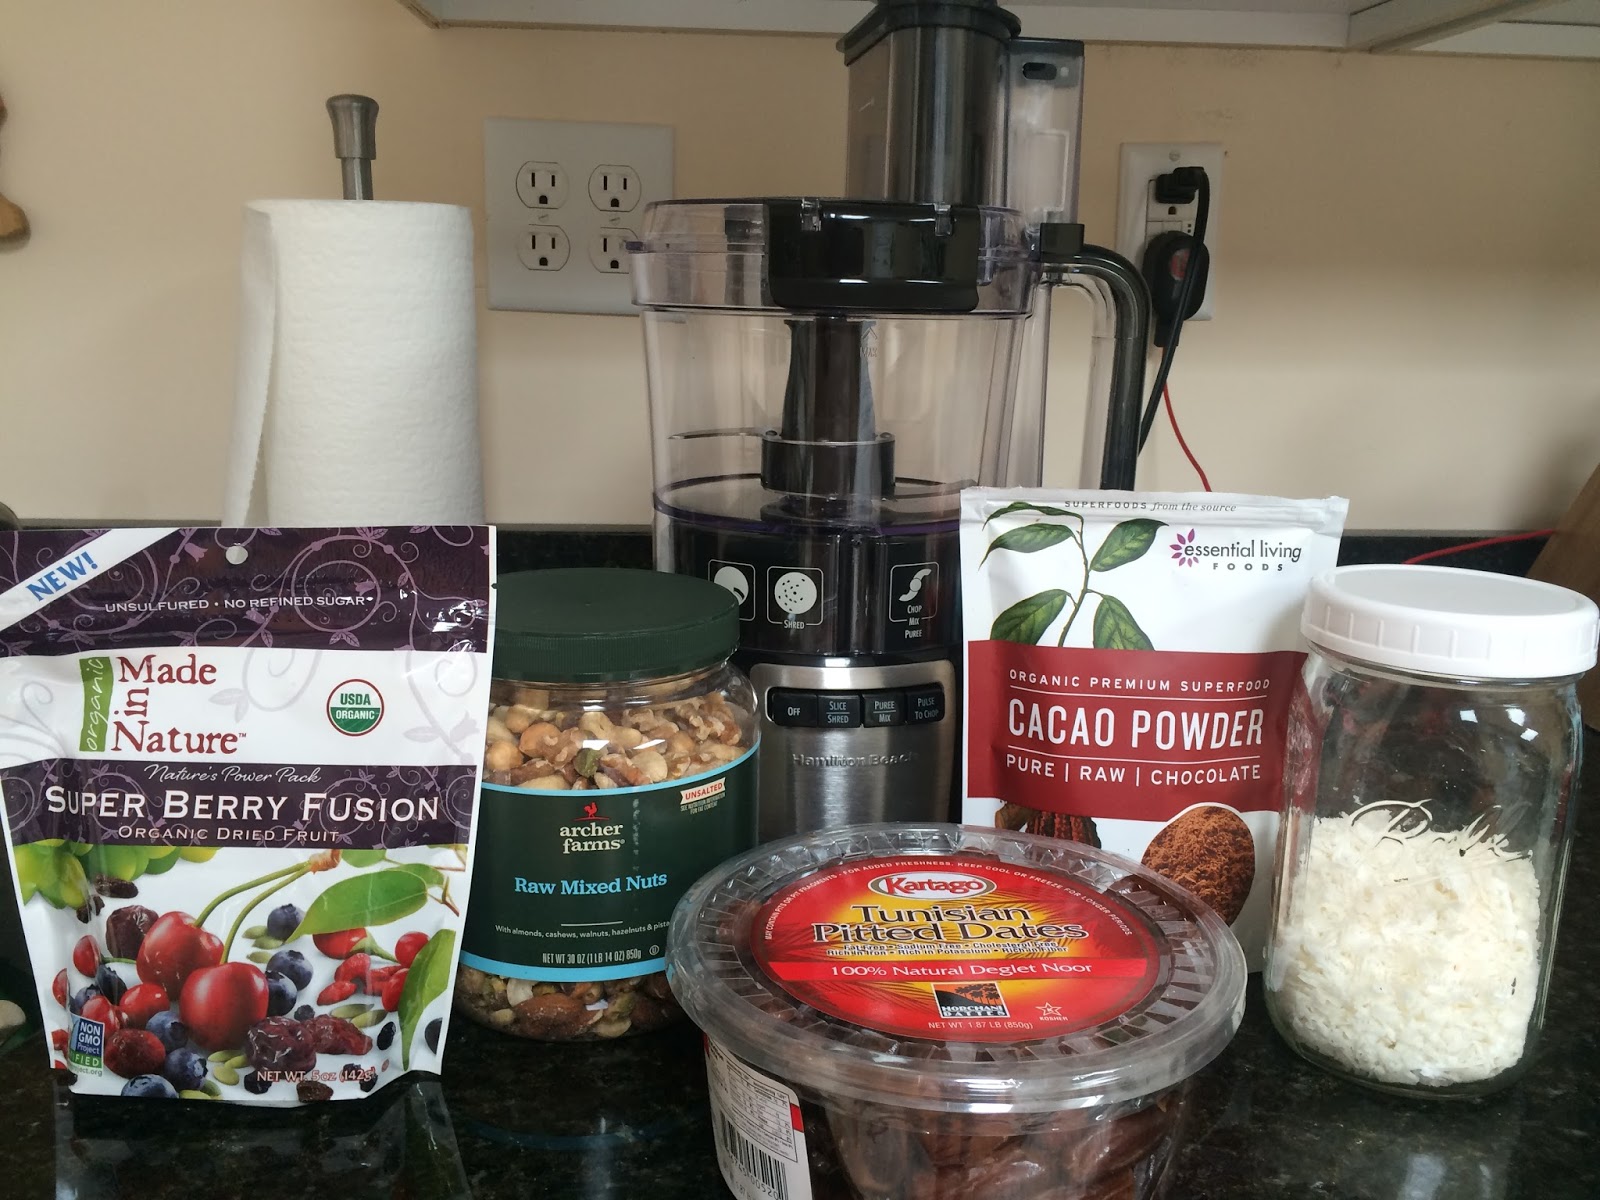
You will need the following:
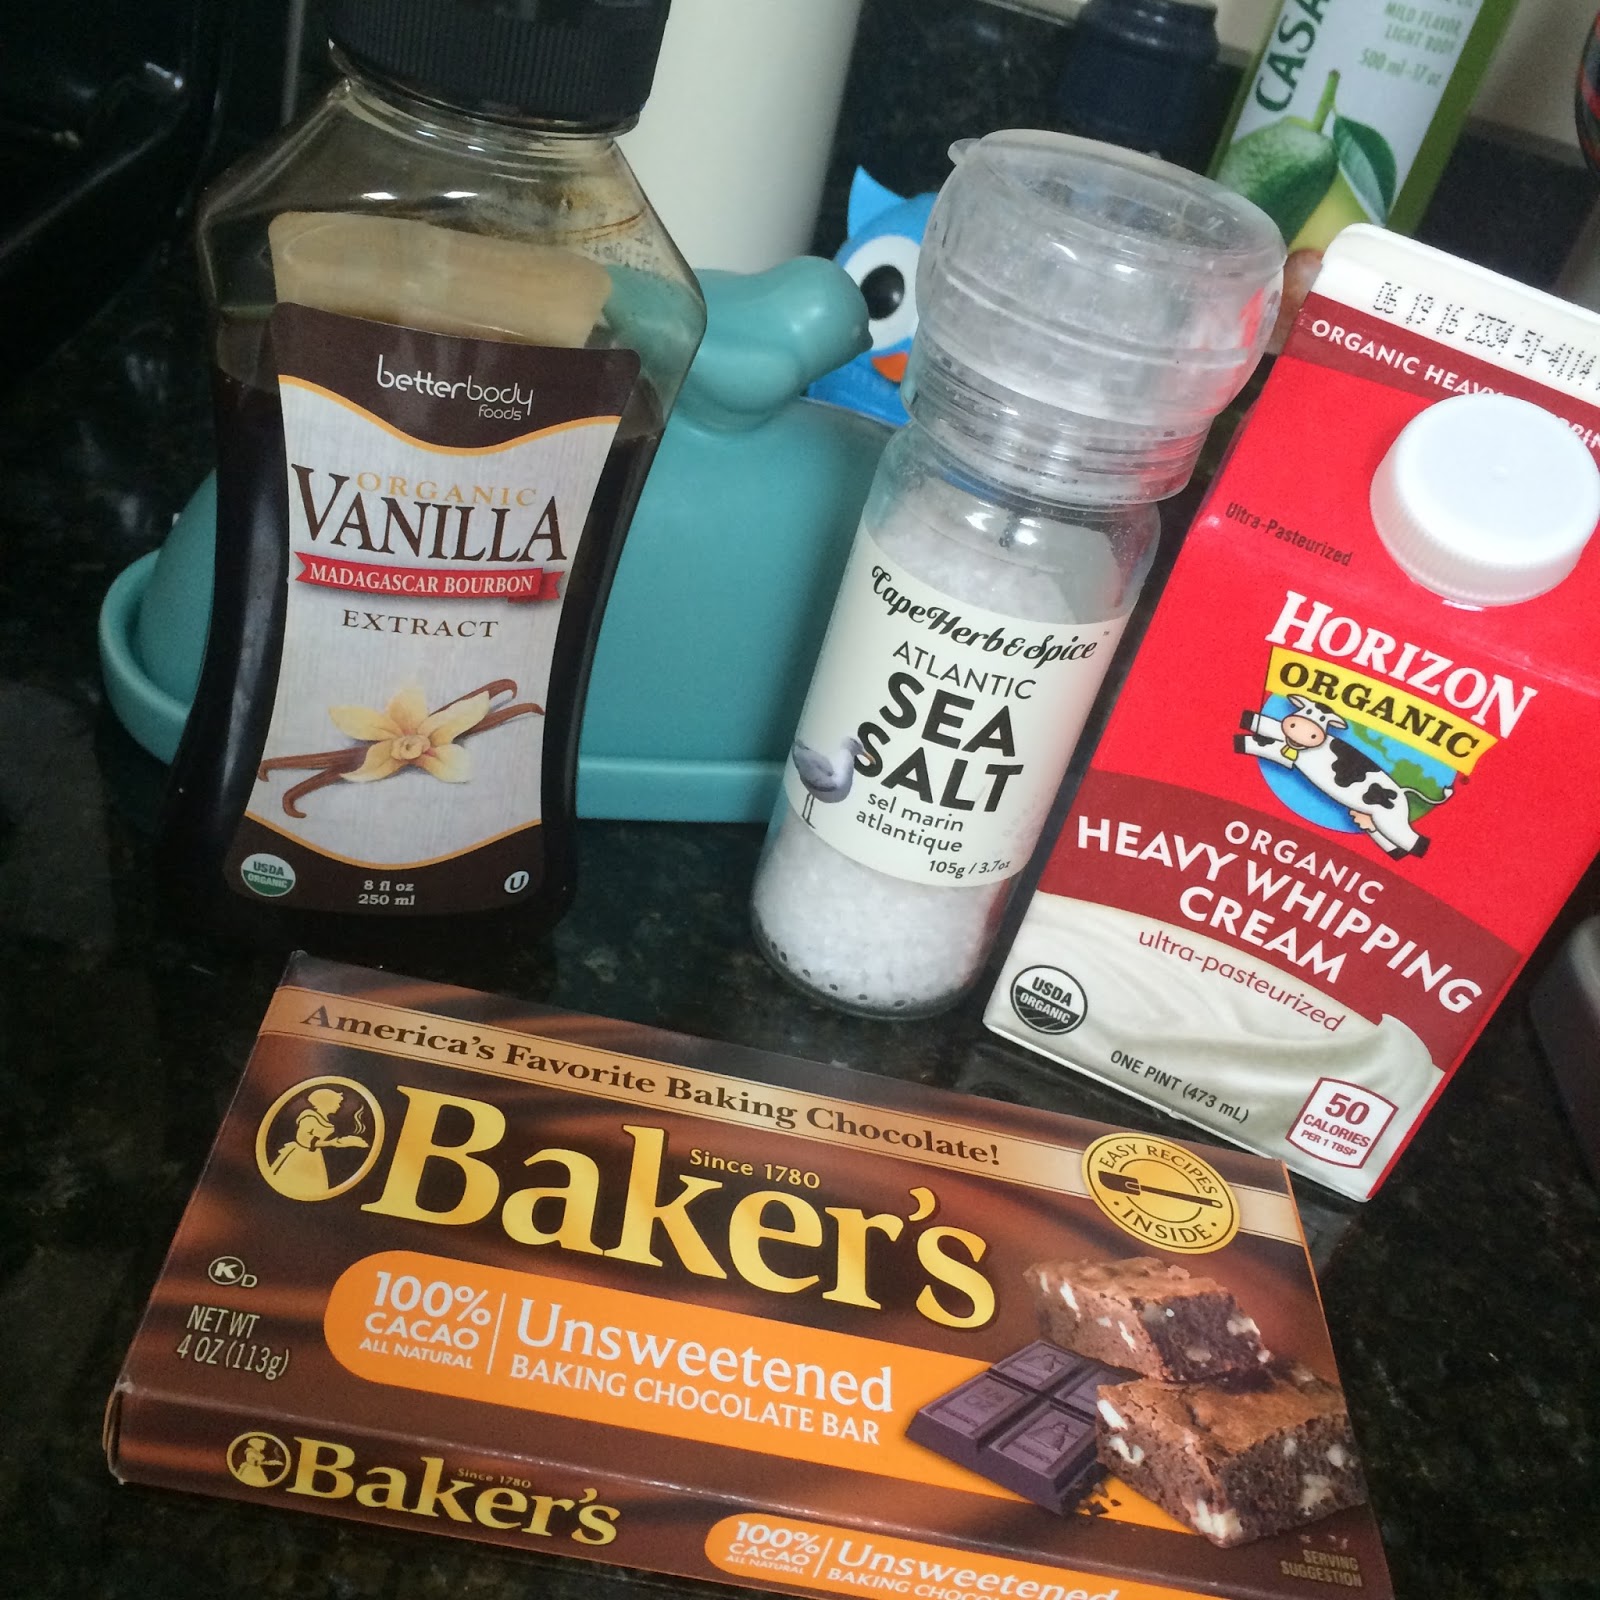
(Optional Items):
Date Ball 1: Chocolate Almond Date Balls
- 2 Cups Dates
- 2 Cups Almonds
- 3/4 Cup Coconut Flakes
- 1/4 Cup Cocoa Powder
- 1 Tbsp Vanilla Extract (optional)
- 1 Tsp Sea Salt (Optional)
Combine all ingredients into food process. Blend until well mixed - mixture should be moist in texture and nuts should be pulverized into mix. If mixture is not well mixed, continue to mix until well blended.
Transfer mixture to bowl. (Optional: coat hands well with coconut oil to prevent mixture from sticking to hands.) Gather about 1/2 c of mixture into hands and form into a ball. Sit on parchment. Should make about 12 balls, depending on size. (I got 13 date balls from this mixture)
Date Ball 2: Fruit and Nut Date Balls:
- 2 Cups Dates
- 2 Cups Mixed Nuts (cashews, pistacios, walnuts, macadmian)
- 1 Cup Mixed Dried Fruit
- 1 Tbsp Vanilla Extract (optional)
- 1 Tsp Sea Salt (Optional)
Combine all ingredients into food process. Blend until well mixed - mixture should be moist in texture and nuts should be pulverized into mix. If mixture is not well mixed, continue to mix until well blended.
***Mixture will be very moist due to high fruit content. If too moist, add 1/4 cup of additional mixed nuts until mixture is slightly moist to the touch (should be more tacky than oily).
Transfer mixture to bowl. (Optional: coat hands well with coconut oil to prevent mixture from sticking to hands.) Gather about 1/2 c of mixture into hands and form into a ball. Sit on parchment. Should make about 12 balls, depending on size. (I was able to get 14 balls out of my mixture)
Date Ball 3: Almond Joy Date Balls (Dessert Balls)
**These are by far my favorite sweet dessert alternative. I do not make these too often but they are a crowd favorite. These make for a great party dessert. They take a bit more steps in the process, but are amazing!
Side Note: Even though there are optional ingredients in this recipe, adding them in makes these balls slightly sweeter and stickier. The mixture will be a lot more difficult to create into ball-shapes however if they end up too sticky, you can lightly coat the outside with cocoa powder.
- 1 Cup Almonds
- 1 Cup Walnuts
- 1 1/2 Cups Coconut Flakes
- 2 Cups Dates
- 1 Tbsp Vanilla Extract (optional)
- 1 Tsp Sea Salt (Optional)
- 1/4 C Almond Milk (Optional)
- 1 Cup Almonds
- 1 Cup Walnuts
Combine mixture until well blended and minced. Set aside in bowl.
Blend until flakes are pulverized into half its size. Set aside in bowl. **Do not over mix or you will get coconut butter**
- 2 Cups Dates
- 1 Tsp Sea Salt (optional)
Blend until mixture looks like play-dough. This will be very sticky and you may have to scrap from off the sides of the food processor bowl. Combine well.
Combine back in nut mixture and coconut mixture to date mixture in bowl. Combine into mixture. After well mixed. Add in 1 Tbsp Vanilla Extract (optional) and 1/4 Cup of Almond Milk (optional).
Continue to mix until completely mixed. Mixture will be darker in color than previous recipes. Move to bowl and form into balls. Again if the mixture is too sticky, once balls are formed, you can lightly coat the outside with cocoa powder. Makes about 12 balls, depending on size (I made 13).
These are all great for hiking, post-workout or everyday energy boost between meals. I have gone hiking with these and they are the best. They do not melt like most store bought bars and are easy to make your own flavors by adjusting the ingredients. Store in air tight container or bag and store in cool place. will keep for weeks.
If you make these, let me know what you used and how they turned out!! Enjoy!